Rules Management User Guide
The Rules Management application is used to review, approve, or reject requests to change the business categorisation rules applied to data within the Rosslyn Platform. New requests will appear in a ‘Pending’ status and remain in that status until they are reviewed and then approved or rejected by an authorised user. Data will not be reallocated unless the rule is approved. If rejected, data will remain in its original state and location prior to the tagging request. Rules Management provides you with the ability to review proposed business rules, make appropriate decisions, and provides a valuable audit trail of all requests and actions.
We would recommend access to this application is restricted to authorised users only, based on their role within their organisation.
Creation of Business Rules
There are three fundamental steps in creating a business rule when tagging spend to one of the available dimensions:
1. Prepare the data (using filtering and options in the Data report).
2. Identify the target dimension value (e.g. search and select the category to move the data to )identify the hierarchal taxonomy and identify the correct category dimension target)
3. Tag the spend data to the correct category dimension (assign the data and the rule to the Audit Trail (Rules Management) application for review and action)
Note: Business Rules can be applied to uncategorised spend or to re-categorise previously categorised spend.
Grid
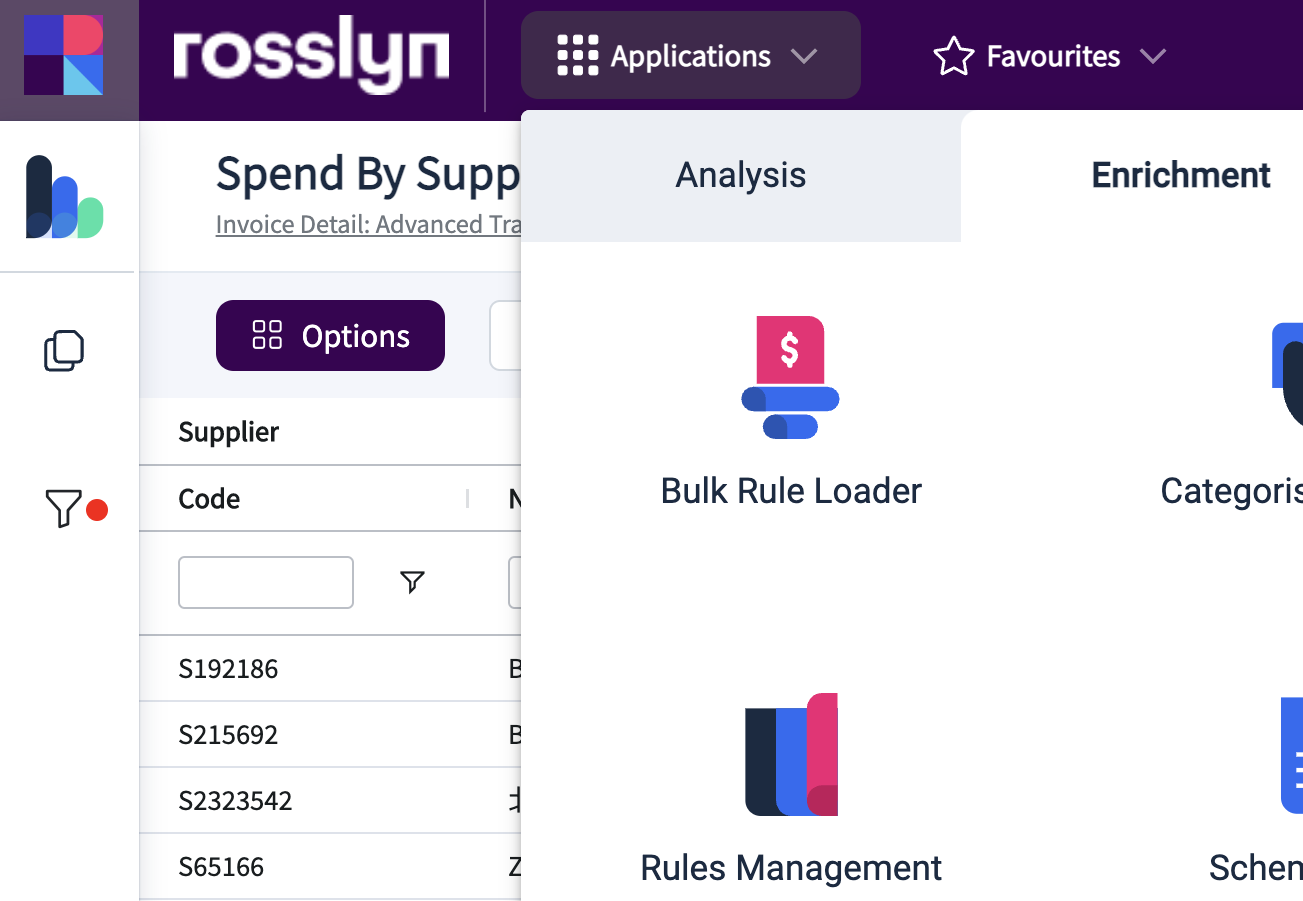
The Rules Management application can be opened from the ‘Applications’ dropdown, found at the top of the screen in the Enrichment tab.
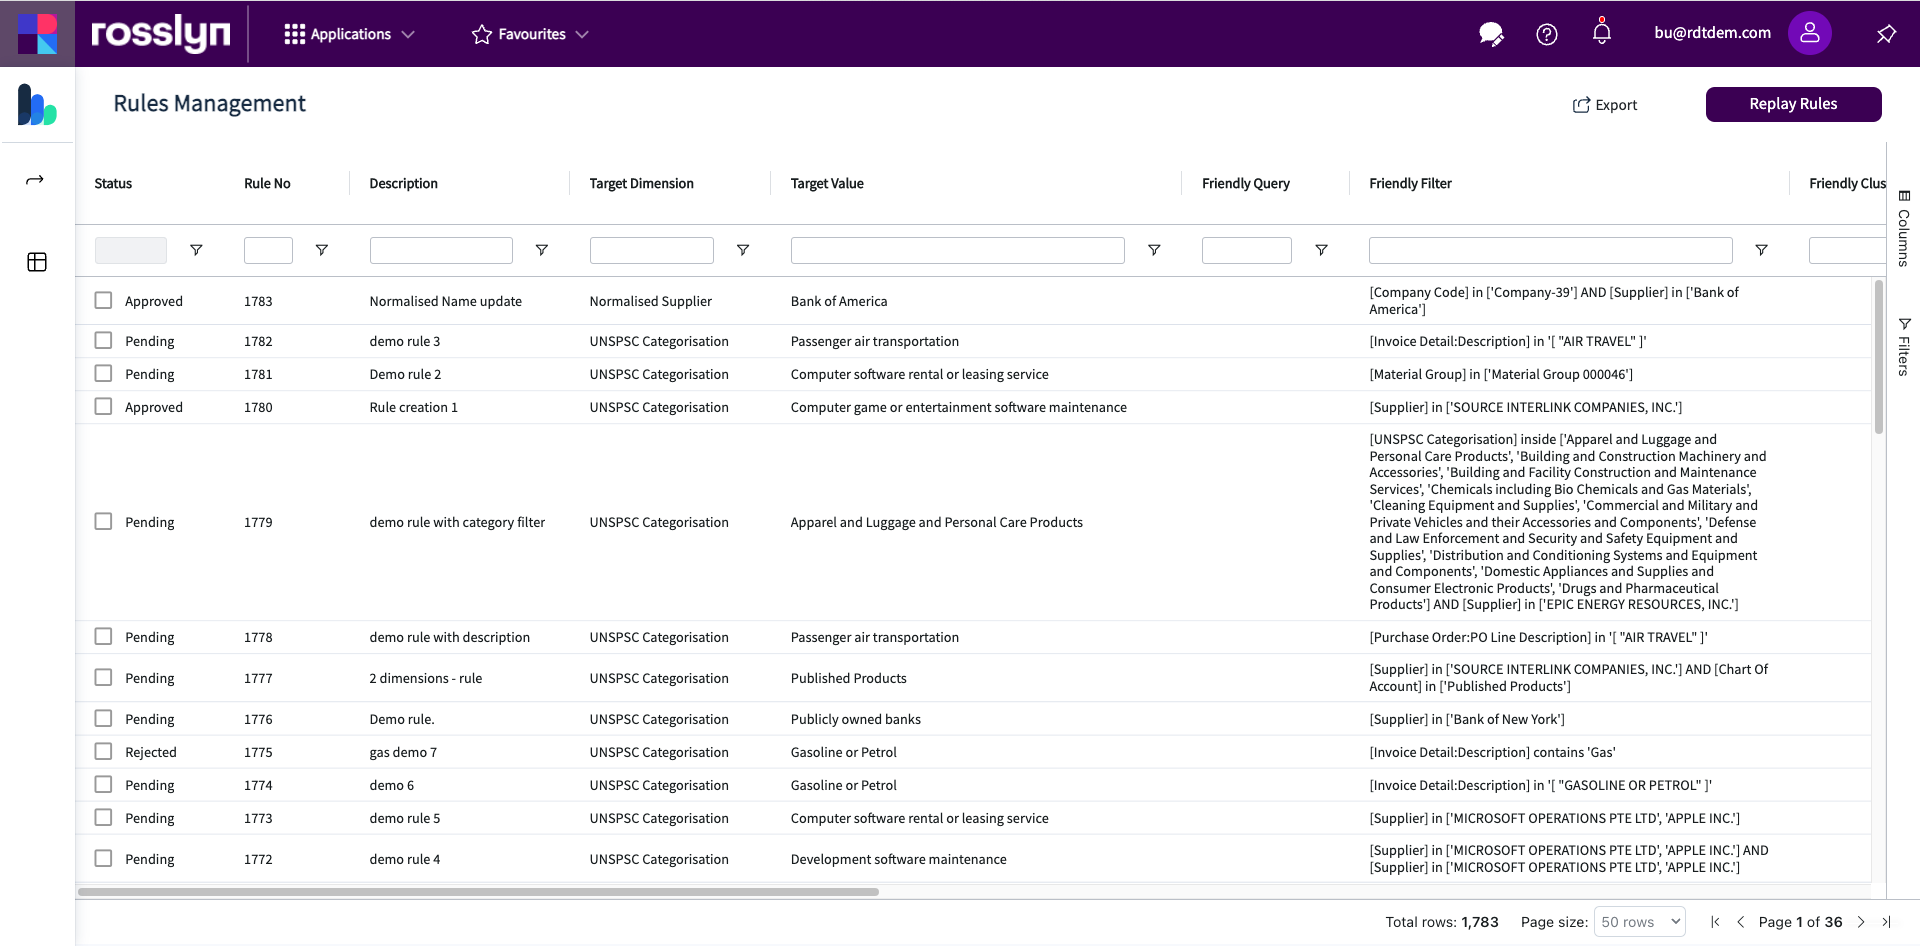
The main grid report will appear on the screen, as shown below.
Pin report columns
Columns can be pinned within a report. Pinned columns will make the selected columns remain static whilst the rest of the columns can be scrolled horizontally. Columns can be pinned to the left or right of the screen.
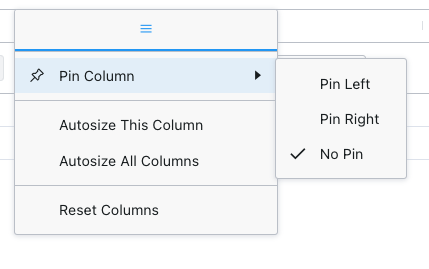
Hover over the ‘column header’ of the selected column to reveal the pinning option.
Click the three lines to display the options below.
Columns can be re-arranged by clicking on the column header and dragging it to the left or right across the screen report page.
The data can be exported in .CSV format by using the export icon.

Audit History is available by selecting the icon found at the left edge of the report screen page
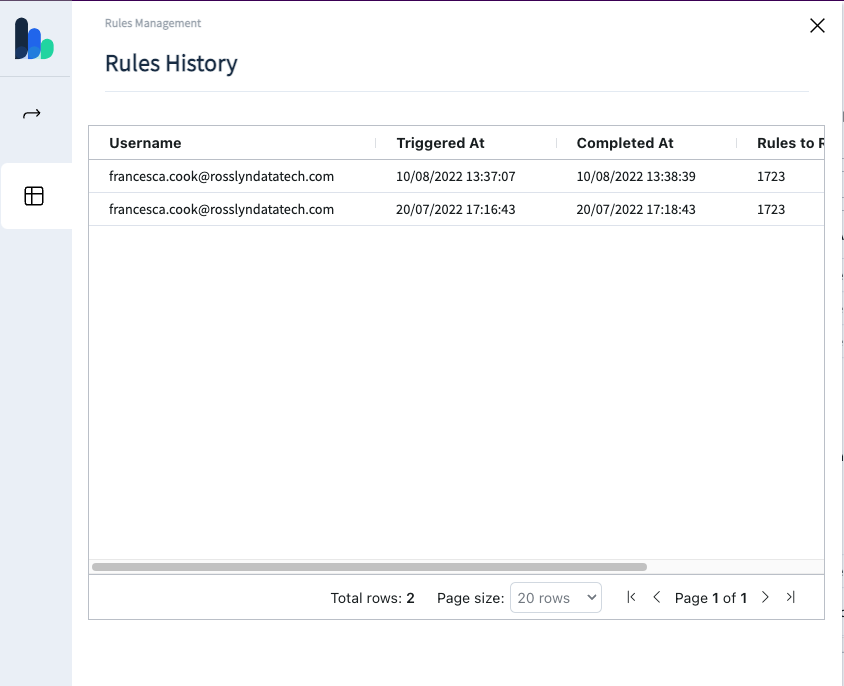
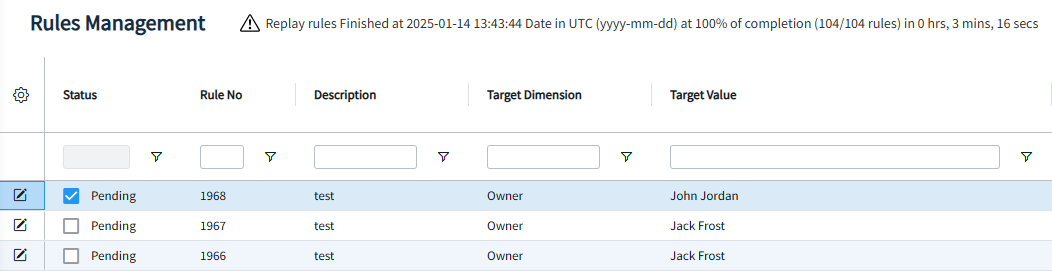
The Replay Rules option is available by clicking on the icon found at the top right of the screen report page. Replay details will display across the top of the screen.

Clicking on the Rules Action button may display the following screen if no lines have been selected.
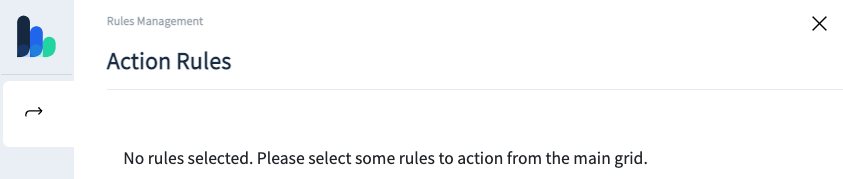
This is where the authorised users can take action and comment on selected line(s)
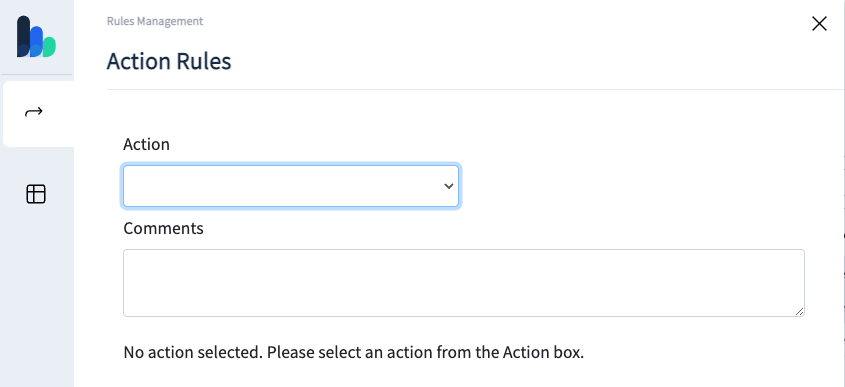
Actions available from the ‘Actions’ dropdown are:
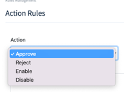
Adding text to the justification comments is highly recommended. The comment will appear within the ‘Comments’ column of the main screen.
Click Action to trigger the update and return to the main screen.
Report pages can be adjusted and ‘paged through’ using buttons found at the bottom right of the screen.

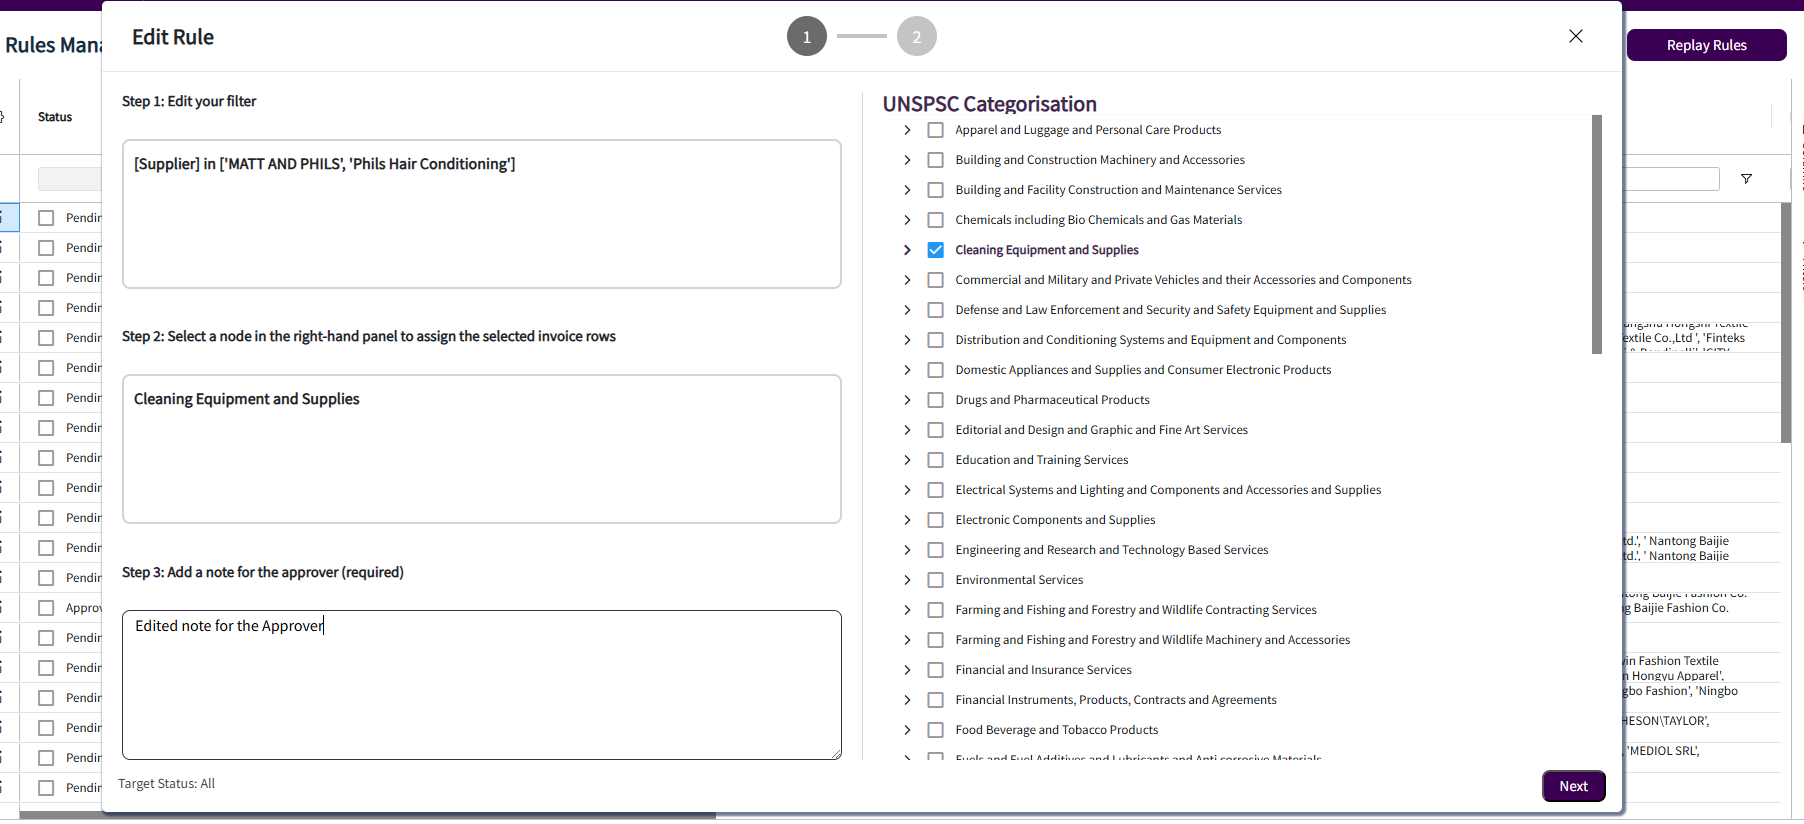
Editing a Rule
To edit the Target Value for a Rule, search for the Target Value and click the pencil icon on the left-hand side. Update the Target Value, add or edit the existing note to the approver, and click Submit. The Rule will move back to 'Pending' even if it was approved. The update will need to be approved by the relevant approvers before it is executed.
Disable and Enable Options
If an approved rule is no longer required, it can be disabled and it will not apply to any new data when the process is run during the data refresh (typically monthly).
Disabled rules can be re-enabled if required.
User Case Scenario
I need to see all entries submitted by a specific user.
- Scroll to the ‘Created By’ column
- Use the column filter to search for the user name.
- This will produce a report showing those entries created by that user.